Building a remote control airplane at home is a practical engineering project that teaches aerodynamics, electronics, and control systems. This guide explains materials, design steps, and assembly methods in a clear sequence. The goal is to help beginners create a stable flying model using simple tools and affordable components safely.
How to Make an RC Airplane at Home?
The process of building a RC airplane at home requires a structured approach that combines design planning, material selection, and precise assembly. The first step is choosing a lightweight airframe design that supports lift and stability. A foam-based or balsa wood structure is commonly used because both materials are light and easy to shape.
Begin with a simple glider-style frame to reduce complexity. Cut the wings with equal symmetry to maintain balance during flight. Install the fuselage as a straight central body that holds all electronic components. Attach control surfaces such as elevator, rudder, and ailerons to manage direction and altitude.
Select a brushless motor for efficient thrust generation. Connect the motor to an Electronic Speed Controller to regulate power output. Install a receiver unit that communicates with a remote transmitter for flight control. Use a lithium polymer battery to provide stable energy output for the entire system.
Secure all components firmly inside the fuselage to prevent movement during flight. Check weight distribution carefully to ensure the center of gravity remains slightly forward of the wing center. This balance is critical for smooth takeoff and controlled landing.
Test all control surfaces before the first flight. Ensure that each servo responds correctly to transmitter input. Perform ground tests to verify motor thrust and stability. Adjust trims on the transmitter to correct alignment issues. Proceed to flight testing only after confirming full system response and structural integrity.
Materials Required
Building a RC airplane requires lightweight and durable materials that support stable flight performance. Foam boards are widely used because they are easy to cut and assemble. Balsa wood is another strong option for precision-based designs. Both materials reduce overall weight and improve lift efficiency.
Electronic components include a brushless motor, ESC, receiver, and transmitter system. These components manage propulsion and directional control. Lithium polymer batteries are preferred due to high energy density and lightweight structure. Servo motors control the movement of wings and tail sections.
Additional materials include hot glue, epoxy adhesive, carbon rods for reinforcement, and lightweight plastic propellers. Tools such as a cutting knife, ruler, soldering iron, and measuring tape are necessary for accurate construction.
Frame Design and Aerodynamics
Frame design plays a critical role in RC airplane performance. A well-designed frame ensures proper lift, stability, and maneuverability. The wing shape should follow a symmetrical airfoil design to generate consistent airflow.
The fuselage must remain narrow to reduce air resistance. A streamlined shape improves speed and efficiency during flight. The tail section should be positioned to maintain directional stability and prevent unwanted rotation.
Aerodynamic balance depends on correct weight distribution. The center of gravity should remain near the wing’s leading edge. This positioning helps the airplane maintain level flight without excessive control input.
Wing dihedral angle improves stability. A slight upward angle on both wings allows the aircraft to self-correct during minor disturbances. This feature is essential for beginner-friendly RC airplane designs.
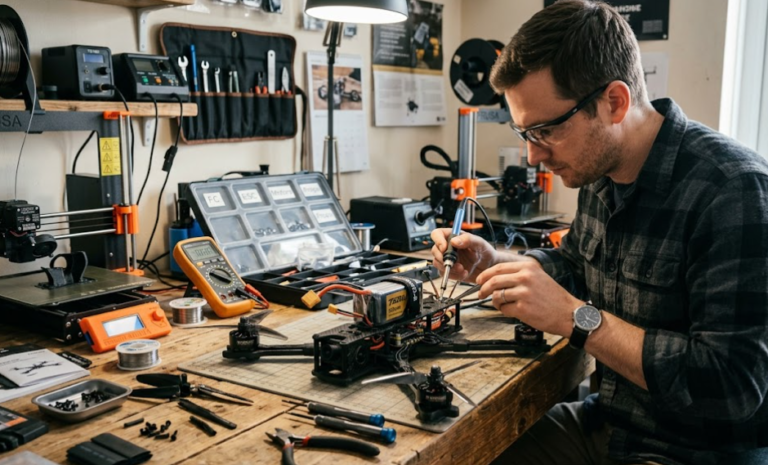
Electronic Components Setup
Electronic setup determines the responsiveness and control of the RC airplane. The brushless motor generates thrust by rotating the propeller at high speed. The ESC regulates motor speed based on transmitter signals.
The receiver acts as the communication bridge between the transmitter and onboard electronics. Each channel controls a specific function such as throttle, elevator, rudder, or ailerons. Proper channel mapping ensures accurate flight control.
Servo motors convert electrical signals into mechanical movement. These servos adjust wing flaps and tail surfaces for directional changes. Each servo must be calibrated before installation to ensure equal movement range.
The battery provides power to all electronic components. A lithium polymer battery with correct voltage rating is essential for consistent performance. Overloading the system can reduce efficiency and damage components.
Wiring must be secured and insulated to prevent short circuits. All connections should be tested before final assembly to ensure system reliability during flight.
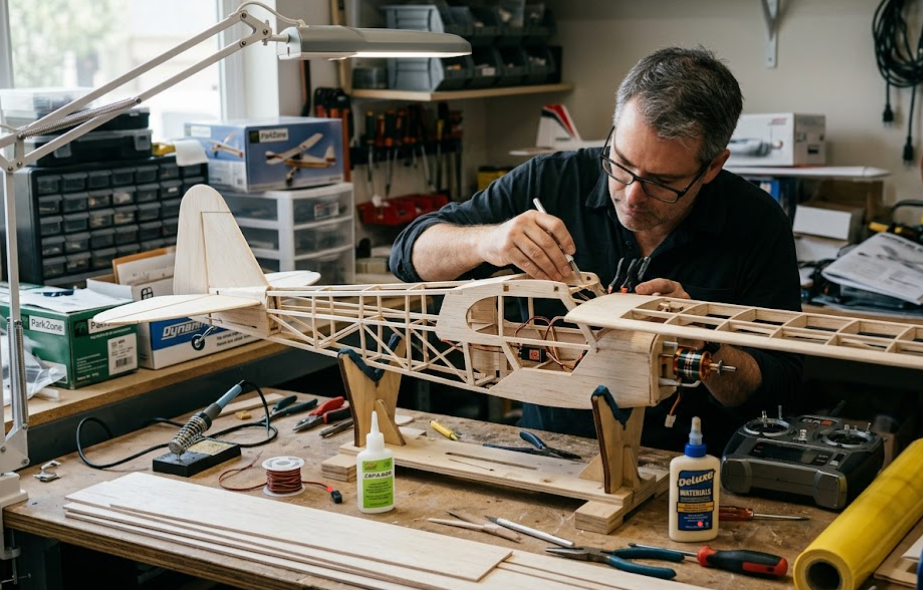
Assembly Process Step-by-Step
The assembly process begins with constructing the fuselage. Cut the foam or balsa wood according to the design plan. Join the sections using strong adhesive while maintaining alignment.
Install the wings at the center of the fuselage. Ensure both sides are symmetrical to prevent imbalance. Reinforce the wing joint using carbon rods or additional support material.
Attach the tail section, including the vertical stabilizer and horizontal stabilizer. These components control direction and stability during flight. Secure them firmly to avoid movement under airflow pressure.
Mount the brushless motor at the front of the fuselage. Align the propeller to face forward for correct thrust direction. Connect the motor to the ESC and ensure proper wiring to the receiver system.
Install servos inside the fuselage and connect them to control surfaces using lightweight push rods. Test each movement to confirm smooth operation. Place the battery in a balanced position to maintain correct center of gravity.
Finalize assembly by securing all loose components. Conduct a full structural inspection before proceeding to testing.
Testing and Flight Safety
Testing ensures that the RC airplane performs safely and efficiently. Begin with a ground test by activating the transmitter and checking control responses. Verify that each control surface moves correctly.
Perform a short motor test to confirm thrust output. Observe vibration levels and adjust propeller alignment if necessary. Ensure the aircraft remains stable when throttle is applied.
Conduct a hand glide test in an open area. This helps evaluate balance and airflow performance. Adjust weight distribution if the aircraft dips or rises excessively.
Choose an open field for the first powered flight. Avoid obstacles such as trees, buildings, and power lines. Launch the airplane into the wind for better lift and control.
Monitor flight behavior carefully during initial attempts. Make gradual control inputs to avoid sudden movements. Prepare for landing by reducing throttle and guiding the aircraft smoothly to the ground.
Frequently Asked Questions
What is the best material for a beginner RC airplane?
Foam board is the best material because it is lightweight, easy to cut, and affordable for beginners.
How long does it take to build a RC airplane at home?
A simple RC airplane can take 2 to 5 days depending on design complexity and experience level.
What is the ideal battery for RC airplanes?
Lithium polymer batteries are ideal due to high energy output and low weight characteristics.
Can a RC airplane fly without a gyro system?
Yes, a basic RC airplane can fly without a gyro system, but stability control becomes more difficult.
Conclusion
Building a RC airplane at home combines mechanical design, electronic integration, and aerodynamic principles into one practical project. Each component must align with precise balance and control requirements. Careful assembly and testing improve flight reliability and reduce crash risk during early learning stages for beginners entering model aviation development.